Introduction
WordPress cron jobs keep your website running smoothly. Cron is a job scheduler that WordPress uses to do things like check for software updates, publish scheduled posts, and send trackback pings. Many plugins that you install to WordPress will use cron as well for their various functions. These functions are important to not only to ensure your installation is up to date and secure, but to keep your various plugins working as they were originally designed.
If cron isn’t running properly, then these important background tasks will not run. After a while, you could find that your WordPress installation is out of date and full of security vulnerabilities. Old installations of WordPress are more susceptible to hackers which is why you should always ensure you are running the latest version.
WP-Cron.php
WordPress has a built in script in a file called wp-cron.php. When wordpress is initially installed, this file is ran when there is an HTTP request to the server. Basically, when someone visits your blog the server spawns a process to run cron jobs. But, what if the blog is new, and nobody comes to visit the site? Well, then the cron jobs will not run automatically which could lead to problems over time.
On the other hand, if your blog is already established and gets a lot of visitors then each wp-cron.php spawns a process on your server, it could lead to excess server load and ultimately waste your precious server resources.
I have found that disabling the internal WordPress cron setup and creating a cron job in Linux is the best compromise to ensure WordPress cron jobs run without issue. Especially if you are running a private WordPress stack on docker.
Disable WordPress Cron
Before we setup the WordPress cron job in our Linux server, the internal WordPress cron process must be disabled. All you have to do is add one line to your wp-config.php file.
Open up your wp-config.php file and the following line of code after the <?php tag at the beginning of the file:
define('DISABLE_WP_CRON', true);Once you make this change and upload the file, this will disable the internal WordPress cron process. If your wp-config.php contains define('DISABLE_WP_CRON', false); then just simply change the word false to true.
Install Cron on Your Server
If your server does not have Cron installed you can install it by running the following commands in your SSH terminal:
sudo apt-get update
The update process can take a few minutes, depending on your setup. After the update process completes, it is time to install Cron:
sudo apt-get install cron
You will be asked if you are sure you want to install cron, type Y and hit enter and then the cron utility will be up and running.
Add the WordPress Cron Job to Your Linux Server
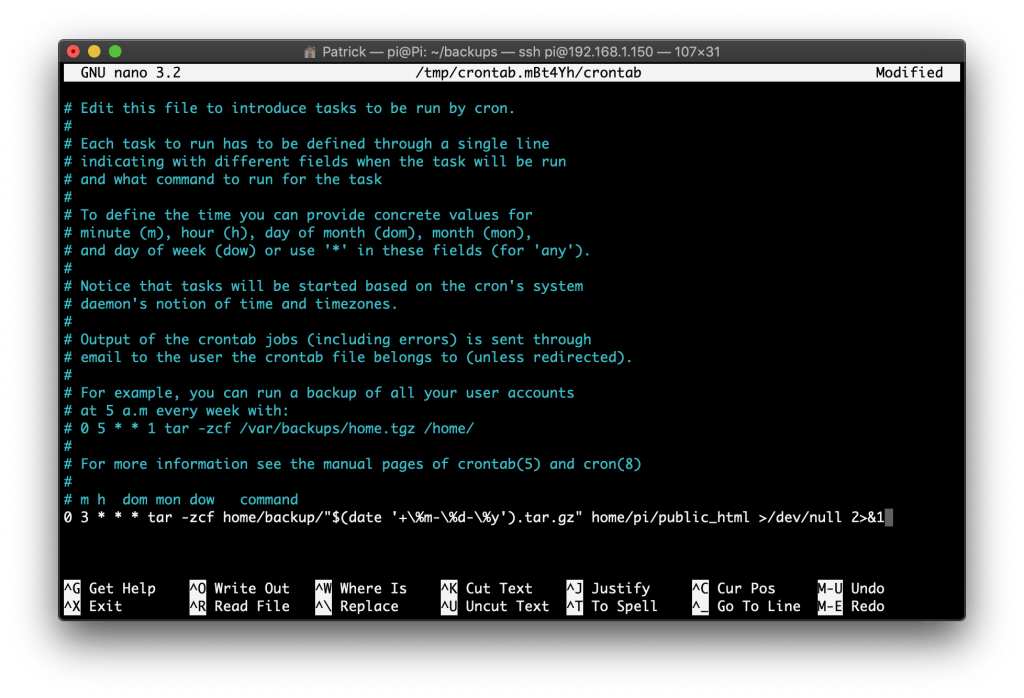
Now that the cron utility is installed, we can add the WordPress cron job. In your terminal, type the following command:
crontab -e
You may be asked to choose your favorite text editor, I always choose nano. Once the text editor is open, you can add the following line:
*/10 * * * * cd /var/www/html; php /var/www/html/wp-cron.php > /dev/null 2>&1
Make sure you replace /var/www/html with the correct path to the wp-cron.php file on your server.. This command will run your WordPress cron job once every 10 minutes. Once you have that line added, type ctrl+x on your keyboard and type Y, then hit enter to save.
Success!
After you save your cron job, it should automatically begin processing the background tasks on a regular basis, without creating an unnecessary drain on server resources. As you can see cron is a pretty powerful tool, you can even use it to backup your website.
If you have any questions or suggestions about using cron with WordPress, leave a comment below.
The post, Creating a basic WordPress Cron Job in 3 easy steps, first appeared on Codeopolis.