Overview
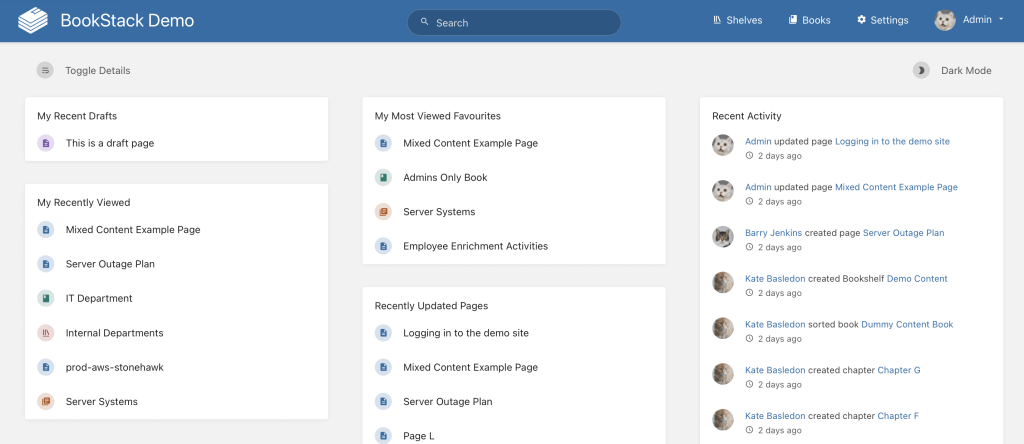
This article provides the required information to install Bookstack using Docker. Bookstack is a simple, self-hosted, platform for organizing and storing information. It is a simple to use wiki platform that allows you to store your data in a hirearchy of books, chapters, and pages. This application uses a seperate SQL database to store information. If you already have a database container running, you can configure the docker run command accordingly. However, if you do not have a database container setup, it is recommended that you install Bookstack using docker-compose.
Create a Docker Volume for Bookstack
This application will require one volume to be created to map to the /config folder in the container. This will allow the container settings to persist between container updates. You can create the volume by typing docker volume create bookstack. That will create the required volume that is needed to map the bookstack configuration folder.
Install Bookstack with a Docker Run command
This guide uses the lscr.io/linuxserver/bookstack docker container image. To run the container, you can run the following docker run command in your docker host terminal. If you need to install Docker, you can follow the Quick and Easy Steps to Install Docker on your system.
docker run -d
  --name=bookstack
  -e PUID=1000
  -e PGID=1000
  -e APP_URL=yourappurl
  -e DB_HOST=yourdbhost
  -e DB_USER=yourdbuser
  -e DB_PASS=yourdbpass
  -e DB_DATABASE=yourdbname
  -p 6875:80
  -v bookstack:/config
  --restart unless-stopped
  lscr.io/linuxserver/bookstack
For this application to run correctly, you need to modify five environment variables. First change yourappurl to the url that you will be access the app. For example http://YOURIP:6875. Additionaly, you will need to change yourdbhost, yourdbuser, yourdbpass, and yourdbname with the information to connect the application to your database.
Using the above command you will be able to access your Bookstack installation by visiting http://YOUR_DOCKER_IP:6875. Be sure to replace YOUR_DOCKER_IP with the IP address of your docker host machine.
Install Bookstack with a Docker Compose file
If you prefer to use a docker-compose to manage the applications on your Docker host, you can use copy and paste the following code in your docker-compose.yml file.
---
version: "2"
services:
  bookstack:
    image: lscr.io/linuxserver/bookstack
    container_name: bookstack
    environment:
      - PUID=1000
      - PGID=1000
      - APP_URL=yourappurl
      - DB_HOST=bookstack_db
      - DB_USER=bookstack
      - DB_PASS=yourdbpass
      - DB_DATABASE=bookstackapp
    volumes:
      - bookstack:/config
    ports:
      - 6875:80
    restart: unless-stopped
    depends_on:
      - bookstack_db
  bookstack_db:
    image: lscr.io/linuxserver/mariadb
    container_name: bookstack_db
    environment:
      - PUID=1000
      - PGID=1000
      - MYSQL_ROOT_PASSWORD=yourdbrootpass
      - TZ=Europe/London
      - MYSQL_DATABASE=bookstackapp
      - MYSQL_USER=bookstack
      - MYSQL_PASSWORD=yourdbpass
    volumes:
      - bookstackdb:/config
    restart: unless-stopped
The above docker-compose file container two seperate docker containers. One for the Bookstack application, and one for the SQL database. This is the preferred way to install Bookstack. Be sure you change yourappurl with the URL that you intend to access the Bookstack application. Additionally, change yourdbpass to a password of your choosing. Make sure your yourdbpass password in the two containers matches. Next, in the bookstack_db container, change the yourdbrootpass to a root password of your choosing. Finally, be sure to change the TZ variable to match your Timezone.
Using the above command you will be able to access your Bookstack installation by visiting http://YOUR_DOCKER_IP:6875. Be sure to replace YOUR_DOCKER_IP with the IP address of your docker host machine.
Additional Bookstack Resources
If you would like to learn more about Bookstack you can visit their official website, Github repository, or you can read more details about the docker container used to install Bookstack in this article at the docker hub. If you are looking for an alternative wiki application that you can self-host I suggest you review DokuWiki.