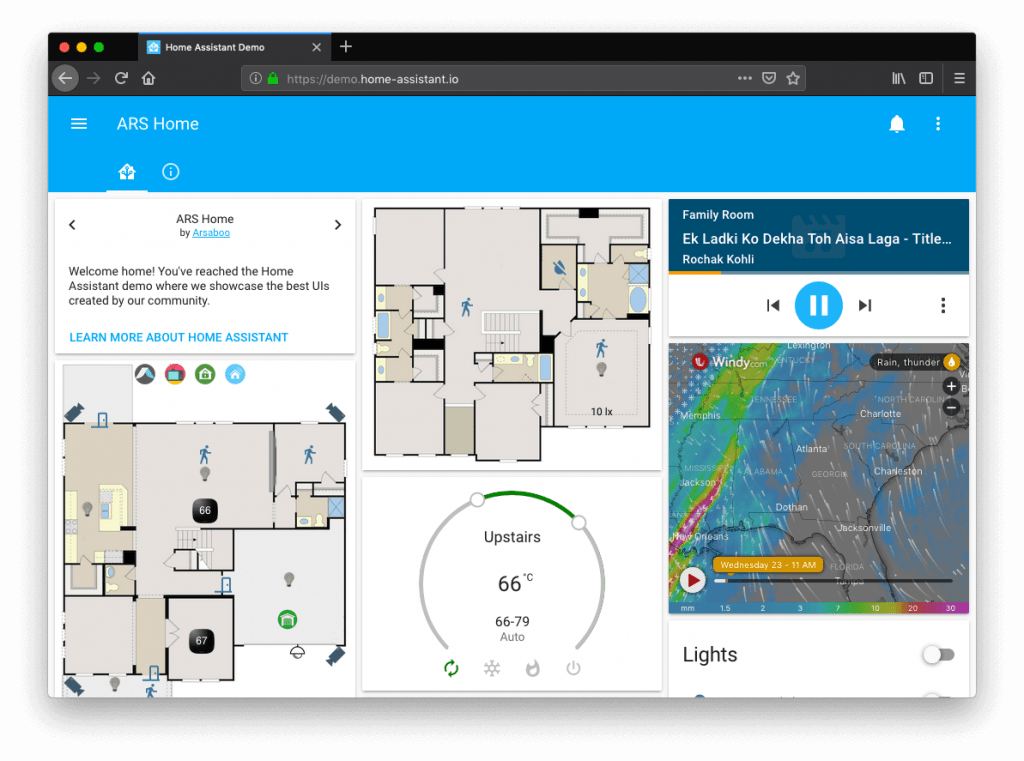
Home Assistant is open-source, self-hosted software that will allow you to control various devices in your home. It is extremely flexible and can be used to tie together multiple sensors and services to create the ultimate smart home. As I continue to learn about the functionality of Home Assistant I’ll add more posts about setting up sensors and other devices.
This tutorial assumes you have Docker already running on your Raspberry Pi. If not, you can find instructions on how to install it here.
Create a Volume
In order to store persistent data, we have to first create a volume in Docker. This is where Home Assistant will store configuration data. Make sure you store it in a location that you can easily access the files. In order to properly work with Home Assistant, you will be consistently editing various configuration .yaml files. Personally, I store my volumes on an NFS share.
docker volume create home_assistant
Docker Run Command
Below is the docker run command. After creating the home_assistant volume, you can copy and paste this command into your terminal in order to download and run the Home Assistant image from the Docker hub. Make sure you change the environment variable -e TZ=America/New_York to your time zone. You can locate your TZ database name here.
Also, it is required to use the docker host network (--net=host) for the Home Assistant container image.
docker run --init -d \
--name="home-assistant" \
-e TZ=America/New_York \
-v home_assistant:/config \
--net=host \
homeassistant/home-assistant:stable
Variables
Below is the list of variables in the above run code.
| Variable | Description |
|---|---|
--name="home-assistant" | The name of your docker container |
-e TZ=America/New_York | Your time zone from the TZ Database |
-v home_assistant:/config | Persistent storage location for the /config folder within the container |
--net=host | Places the container on the host network |
Finished

After you run the above Docker run command, you will be able to access your installation at http://YOURIPADDRESS:8123. Now you will be prompted to set up your user account and can begin adding your devices.
Now that you have Home Assistant setup, it’s time to build out your smart home. Check out the Ultimate DIY Smart Home Guide to learn how to get started.